Do you remember this...


And this...

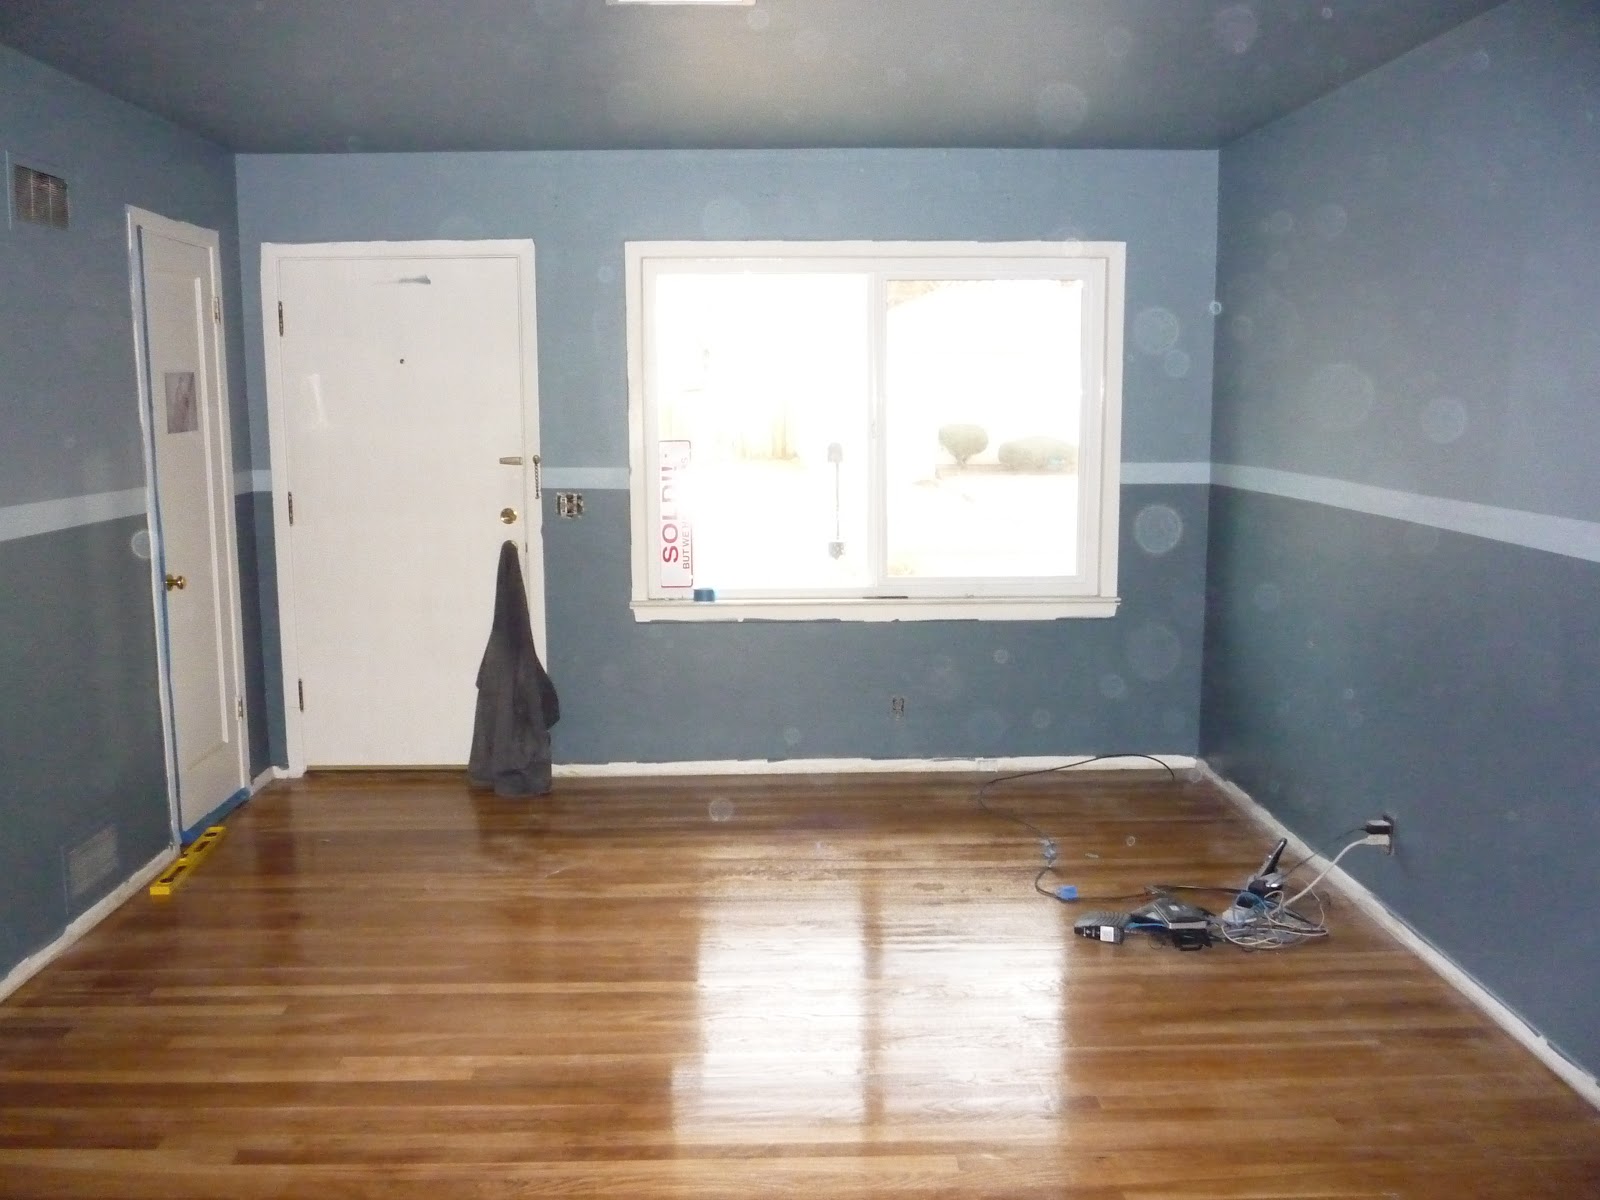
Is...THIS


After we put in the floors it was hard to decide what to do next. I needed to re-texture the ceiling, paint it and put in the new lighting fixtures. Install the cabinets, tile the countertops, put up the backsplash and paint the upper cabinets. Install the kitchen sink, the garbage disposer, and the dishwasher.
But what to do first?
The ceiling, duh, that would make the most sense. But why would I do the ceiling when our cabinets are ready for pick up and cabinets are exciting! So I go to the warehouse to pick up the cabinets, back-in our subaru outback and then watch as the freightworkers fight back their laughter. Then I see the massive pile of boxes labeled "Peterson". Ha, yeah, I don't think that will fit. The manager came out and looked from my car to the pile of boxes and said "Let me offer you a deal. Delivery at cost." SWEET! Instead of lugging these gigantic things back on my lonesome, I can get them delivered by some muscular men and rolled right into my living room!
So one day Adam and I unboxed these beautiful Masco Cabinets, just for a "dry fit" and then the next day we started screwing them in. And for amateurs I think we did a pretty good job. It helped that the floor we laid was remarkably flat and a good foundation.


There was even room in the budget for Millie to get her own special cabinet.

Step One: Over the top of the cabinets we screwed down a layer of 0.53" plywood, as a base for the tile.

Back in town, we had to wait an extra week because our tile shipment was slightly delayed, but since we already had the plywood down we at least had something like countertop to work off of. The remodel laziness had started to set in, and China East ( a great little place a mile away from our house with a $6 lunch special) was getting a lot of my business.
Finally, I received a phone call. The tile was ready for pick-up.
Step Two: Cut and lay the tile.
Step Three: Nail in the bumper.
Step Four: Grout. Voi La!

I have this bad habit of not reading directions very well, or at all. And this has led me on two different occasions to make up ridiculous amounts of grout. This was one of those occasions, to make the most of it I moved onto installing the backsplash as quickly as possible so we could avoid waste. Me and my pregnant belly spent and evening cutting and putting up our beautiful glass tile backsplash. Nothing like manual labor to make you wish that your waist was ten or fifteen inches slimmer!

We got the glass tile at the infamous Lowe's moving sale and even though we purchased all that was left on the shelf it wasn't enough to go from countertop to cabinet. But, hey! I have all this extra grout! Why not put it to use?

After smooshing up the extra grout to cover the dead space between the tile and the cabinets we debated painting it the same pale yellow we had planned form the rest of the kitchen. We decided to leave it for a while and see how we felt a little later, and whether it was pure laziness or not it has remained unpainted. Rustic, I like to say and really I do like it. Some things we planned and they turned out awesome other things just kind of happened and they turned out even better. We are just lucky like that.

On to the next adventure, our cherry butcherblock is ready for pick-up at Lumber Liquidators. Babysitters in place, I struck out with our good ole subaru legacy. The butcherblock fit, no problem and I headed home. When Adam got home from work we were able to move the countertop inside and cut it to fit. Cutting the sink hole was a real hardship. We broke two bits and got a third one stuck then when we went to pry it out with pliers it twisted into uselessness. We did, however, triumph in the end.
Next we screwed down a layer of plywood to the cabinets, squirted some glue, and screwed up through the plywood to anchor the butcherblock. I got some generic block oil from a restaurant supply company and oiled it down for a finish.

One day it happened, the procrastinating ended and the ceiling got textured, my triceps screamed at me for two days afterwards but it was accomplished. My dad had mentioned a skip-trowel technique and I tried to follow his basic guidelines, as best as I could understand them from our over-the-phone conversation. And my understanding was to glob spackle in random places and then smooth them out, but not entirely smooth. What I ended up with looked something like mexi-style plaster. Well, the hard part was done, so the painting could commence! The color "Butterfly Bush" (a lot of jokes were traded back and forth between me and Adam at the expense of this poor paint), a cheerful yellow, in no other finish than semi-gloss.


And then the month was over!
It's a little hard to keep things straight, but our extensive photo archive is helping me quite a bit. I figure it will be easiest to catch you all up if I go month by month. March down! April and May to go!


